YS-300P Double-Sided Slicer for Waterproofing Membranes / Rubber Slicing Instrument
Scope of Application
【Operating Instructions】
- This machine is widely used in rubber, plastic, wire, cable, scientific research and other units. It can cut various test pieces with a Shore hardness greater than 40 and a thickness of 1–12 mm. The cut pieces have a smooth, flat surface; the thickness tolerance can be controlled within ±0.2 mm; no grinding is required, and specimens can be directly cut from the sliced sheet.
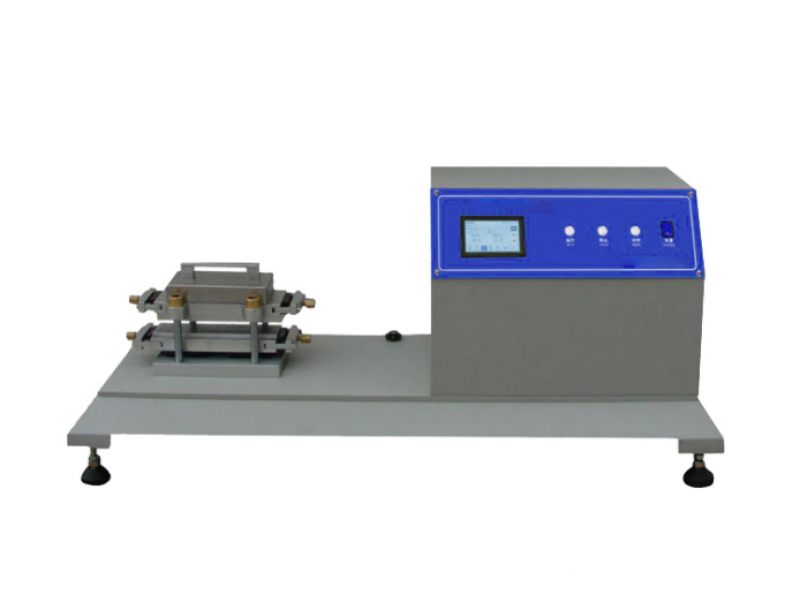
**YS-300P Double-Sided Slicer for Waterproofing Membranes / Rubber Slicing Instrument**
**【Scope of Application】**
This machine is widely used in rubber, plastic, wire, cable, scientific research and other units. It can cut various
test pieces with a Shore hardness greater than 40 and a thickness of 1–12 mm. The cut pieces have a smooth,
flat surface; the thickness tolerance can be controlled within ±0.2 mm; no grinding is required, and specimens can
be directly cut from the sliced sheet.
**【Technical Parameters】**
1. Workbench width: 300 mm
2. Slicing thickness: 12 mm
3. Cutting blade dimensions (L × W × H): 300 × 125 × 10 mm
4. Overall dimensions (L × W × H): 600 × 400 × 1000 mm
**【Instrument Features】**
This machine consists of a frame, transmission, adjustment, and control parts. The structure and use of each part are
described below:
**1. Frame and Transmission**
The lower part of the frame is the base, which houses the motor and electrical components. On the outside are the motor
start and stop switches. The upper part is the working section, equipped with left and right frames, a worktable, a pressing
shaft, a feed roller, and adjustment mechanisms. During operation, turn the start switch to start the motor and the slicer; the
stop switch stops the slicer.
*Note:* For models with speed adjustment, select an appropriate speed according to the rubber hardness (generally slower is better).
The transmission is driven by a motor. Through the main and auxiliary pulleys, the drive shaft rotates. Gears at both ends of the
drive shaft rotate the lower feed roller, and then the gear on the feed roller drives the pressing shaft to rotate simultaneously.
**2. Operation and Adjustment**
The right-hand operation handwheel is generally used for adjustment; during normal operation, this wheel idles.
To adjust the slicing thickness: turn the adjustment handwheel on the upper part of the frame to raise or lower the pressing shaft to
achieve the appropriate feeding thickness. Additionally, adjust the screws at the lower part of the frame to raise or lower the feed
roller to achieve the desired slicing thickness.
**【Installation and Maintenance】**
1. After the machine arrives at the workplace, level and install it on the base.
2. Remove the anti‑rust grease from exposed surfaces, and check whether any parts or electrical components have become loose, lost,
or damaged due to transportation.
3. Connect the power supply and install the ground wire. Ensure that the motor rotation direction matches the arrow on the pulley cover.
4. Check whether the V‑belt tension is appropriate. If not, open the rear cover and adjust using the reverse‑forward nut connecting the
motor base plate and the machine base.
5. Before starting the machine, add lubricating oil at all lubrication points (each point at least twice per shift). Apply a small amount of
semi‑hard grease to the transmission gear surfaces. Be careful not to get oil on the lower feed roller or the upper pressing shaft. Then
turn the handwheel and adjustment handwheel to check whether all parts move flexibly.
6. In addition to regular lubrication, keep the machine clean, and pay attention to maintenance and operational safety (do not operate
with gloves, and do not push or pull the material by hand to assist feeding).
7. If abnormal operation or damaged parts are found, stop the machine immediately for inspection.
*Note:* This machine does not have the function of trimming ribs or ridges on waterstops. If the waterstop has ribs, remove them before slicing.


